

By Daniel Casciato
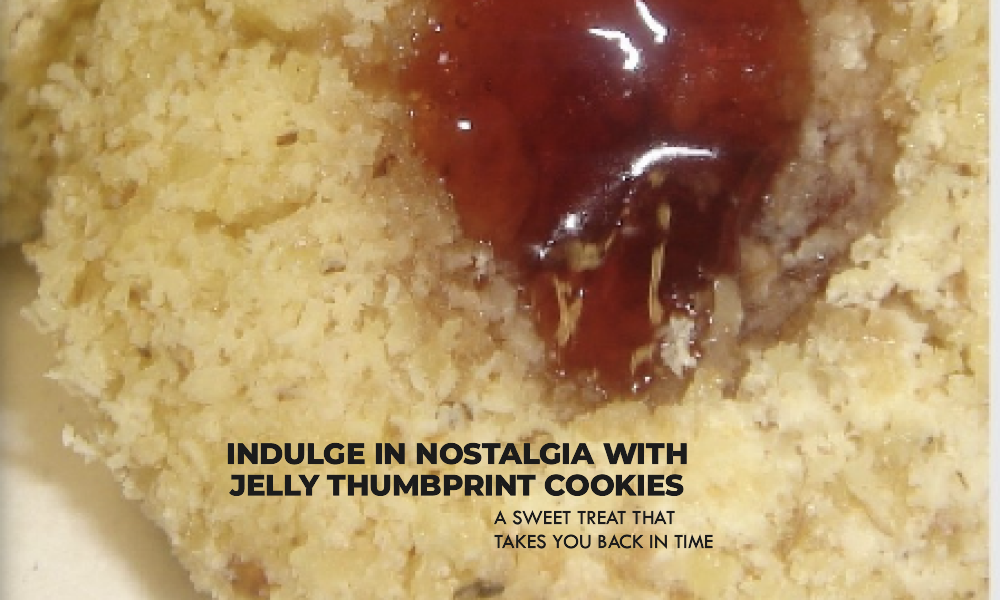
Growing up in a bustling household with four other siblings, some of my fondest memories were centered around the kitchen. Among the many recipes that filled our home with warmth and delicious aromas, Jelly Thumbprint Cookies held a special place in our hearts. These delightful treats were more than just cookies; they symbolized togetherness and tradition. Today, I’m excited to share with you the recipe that our mom passed down to us, a recipe that was a staple at weddings, graduation parties, and holidays.
Ingredients:
– 1 ½ sticks of butter
– ¾ cup sugar
– 2 egg whites
– 2 cups flour
– 1 teaspoon vanilla
– Pinch of salt
Instructions:
1. Mixing the Ingredients
– Mix 1 ½ sticks of softened butter and ¾ cup of sugar in a mixing bowl. Blend them together until the mixture becomes creamy and light.
– Add two egg whites and one teaspoon of vanilla to the mixture. Continue mixing until well incorporated.
– Gradually add 2 cups of flour and a pinch of salt to the mixture. Mix until the dough comes together, forming a soft, pliable ball.
2. Preparing the Cookies
– Preheat your oven to 350°F (175°C).
– Roll the dough into small balls, each about the size of a walnut.
– In a separate bowl, beat an egg white to create a wash for the cookies.
– Roll each dough ball in the egg white wash, ensuring they are evenly coated.
– Afterward, roll the coated dough balls in chopped nuts of your choice. Traditionally, finely chopped walnuts or almonds work wonderfully, adding a delightful crunch to your cookies.
3. Creating the Thumbprint
– Place the nut-coated dough balls on a baking sheet lined with parchment paper.
– Using your thumb or the back of a spoon, gently press an indent into the center of each cookie, creating a well for the jelly.
4. Filling with Jelly
– Now comes the exciting part! Spoon your favorite fruit jelly or jam into the thumbprint well of each cookie. Raspberry, strawberry, and apricot are classic choices, but feel free to get creative with your selection.
5. Baking to Perfection
– Bake your cookies in the preheated oven for 5 minutes to set the structure.
– After 5 minutes, remove the cookies from the oven and gently repress the thumbprint to ensure it retains its shape.
– Return the cookies to the oven and bake for an additional 8-10 minutes or until the edges turn golden brown.
6. Savoring the Memories
– Once baked to perfection, remove the cookies from the oven and let them cool on a wire rack.
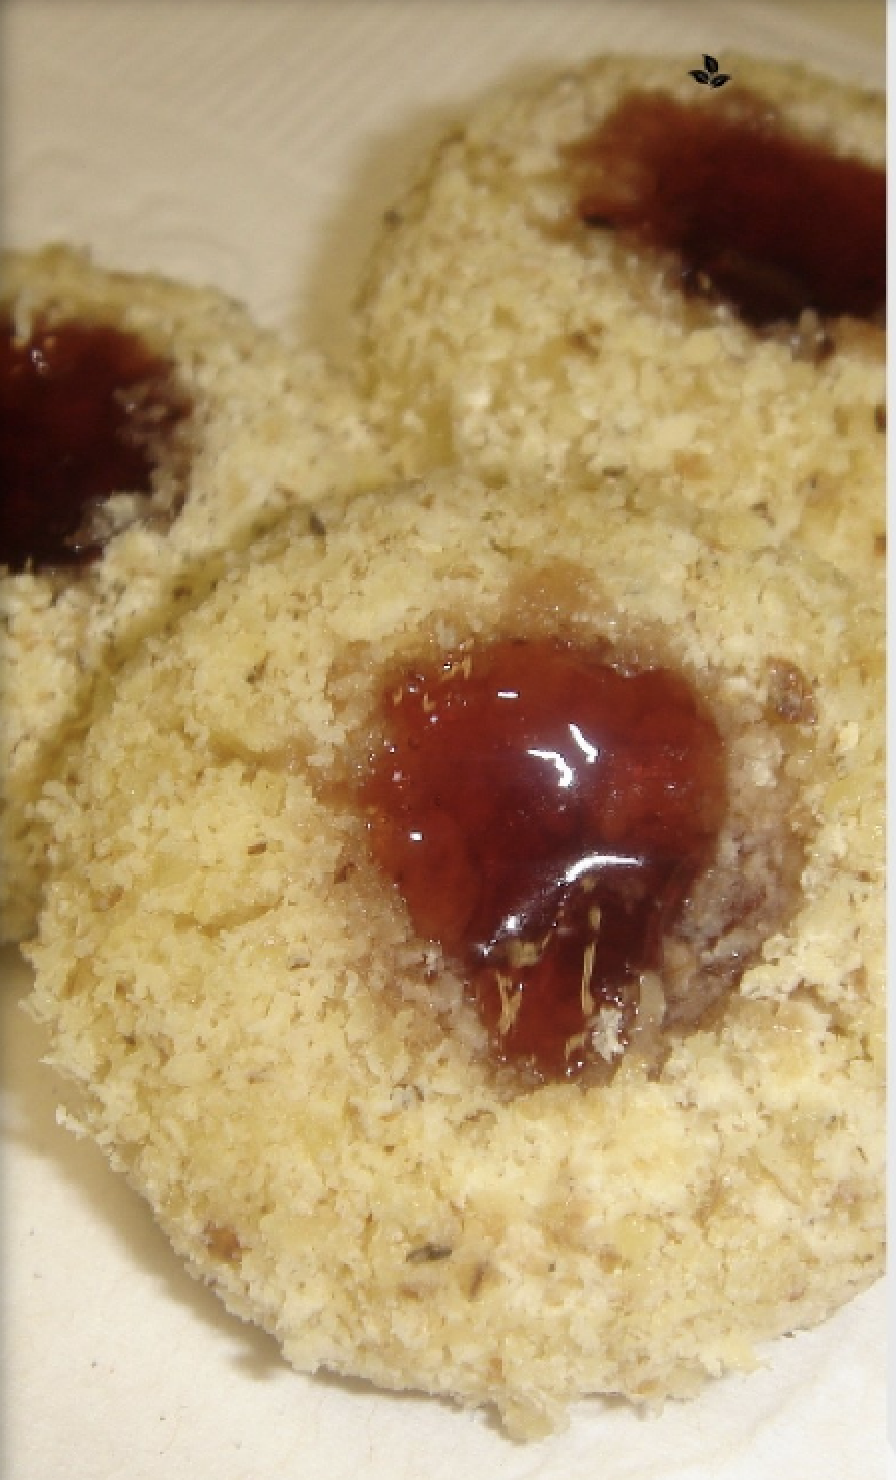
– As the cookies cool, the jelly centers will set, creating a delightful contrast between the sweet, fruity filling and the nutty, buttery cookie base.
Jelly Thumbprint Cookies are more than just a dessert; they are a sweet embodiment of cherished memories and traditions. Whether enjoyed at weddings, graduation parties, or holiday gatherings, these cookies have a unique way of bringing people together, one delicious bite at a time.
So, why not recreate a piece of your own family history with this classic recipe? Share the joy of Jelly Thumbprint Cookies with your loved ones, and maybe someday, your children will pass down this delicious tradition to their own families.